A Look Into the Workshop
= Mandonator™ Serial #16 ===
This resonator mandolin was commissioned by Sue L.
The options she chose are:
- 4 strings with 13.875" scale
- Khaya mahogany with curly maple binding
- No cutaway
- Two round soundholes, lined with African ebony
- Khaya mahogany neck
- Snakehead head shape
- Ebony headstock veneer
- Gold MoP and Paua "nouveau" inlays on headstock and fingerboard
- Orrico tailpiece and Gotoh Stealth tuners
- Stain and Formby's satin tung-oil finish
Standard features include:
- Spherically arched back
- Nickel plated hardware
- Radiused fingerboard
- Spider bridge and resonator cone
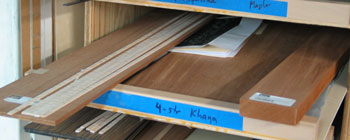
Here you see some of the parts for Mandonator™ 16 gathered together in its dedicated shelf drawer, most notably the wood for the body, sides, and neck.
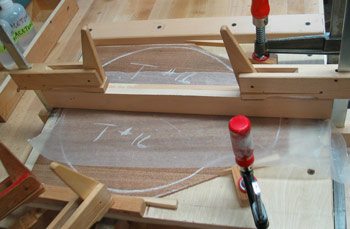
The two halves of the front are being joined. The wax paper isolates the clamp from any glue that might seep from the join.
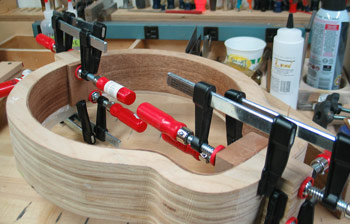
The sides are being joined with end blocks. The sides are held in a form and the end blocks are clamped in place at each end while the glue dries.
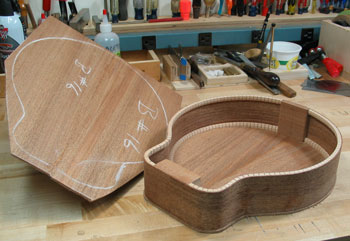
With the back halves joined, I use chalk to draw the outline of the instrument, carefully oriented around the centerline. You can see the linings and end blocks in the rim; the top is attached, but has only been roughly trimmed.
After the opening for the resonator cone was cut, the sound holes were cut and lined with ebony. Then the back was attached and the top and back trimmed flush to the rim. The body still needs to have binding installed.
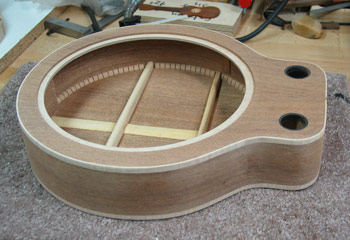
And here it is after the curly maple binding has been added.

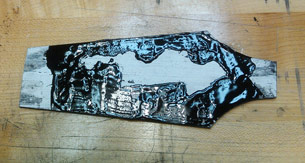
The headstock veneer is clamped to the benchtop. It's ebony that I've painted white. You can see some of the inlays resting on the cellphone case, just above the headstock. I trace the inlays using a .03" mechanical pencil onto the white paint. Then I route the pockets between the pencil lines. It's very fussy work and takes a long time.
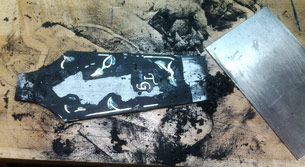
By the time I snapped this photo a couple days later, all the inlays had been glued into pockets. The next step was to mix up some black epoxy and smear it onto the inlay to fill up any gaps between the inlay and the pockets. I make the inlay fit as closely as I can, but there are always some gaps.
Here I've started scraping and sanding the filler off the top of the inlay. Some of the higher pieces of inlay are starting to appear. Next to the veneer, you can see the scraper I am using.
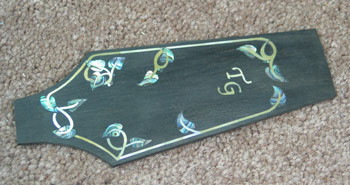
Here's the lovely inlay result. Next I'll attach the veneer to the headstock and shape the two together into a snakehead.
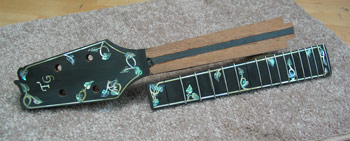
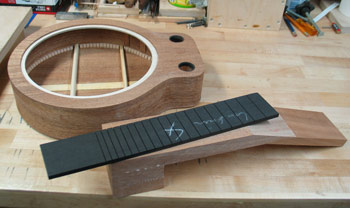
Neck and fingerboard, ready to be glued together. You can see the graphite truss rod in the center of the neck. I'll finish shaping and cleaning them after they're joined.
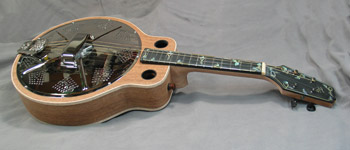
Here's Mandonator™ 16 "in the white," ready for a "test play." Then I'll apply the tung-oil finish Sue requested.
Mandonator™ 16 has been completed! You can see photos of the finished instrument on its Gallery page.